Setting up a telephoneer voice mailbox is quick and simple. You’ll need one (or more) verified contact email addresses and (optionally) a greeting that invites the caller to leave a message. When a voicemail is received the contacts associated with the mailbox receive an email with a link to the message. Simple!
To see how to add and verify a contact email, check out this post.
To see how to add a greeting, check this one.
Once you have your contacts and greeting, log in to the telephoneer web app, navigate to the Actions tab and click on the VOICEMAIL tab.
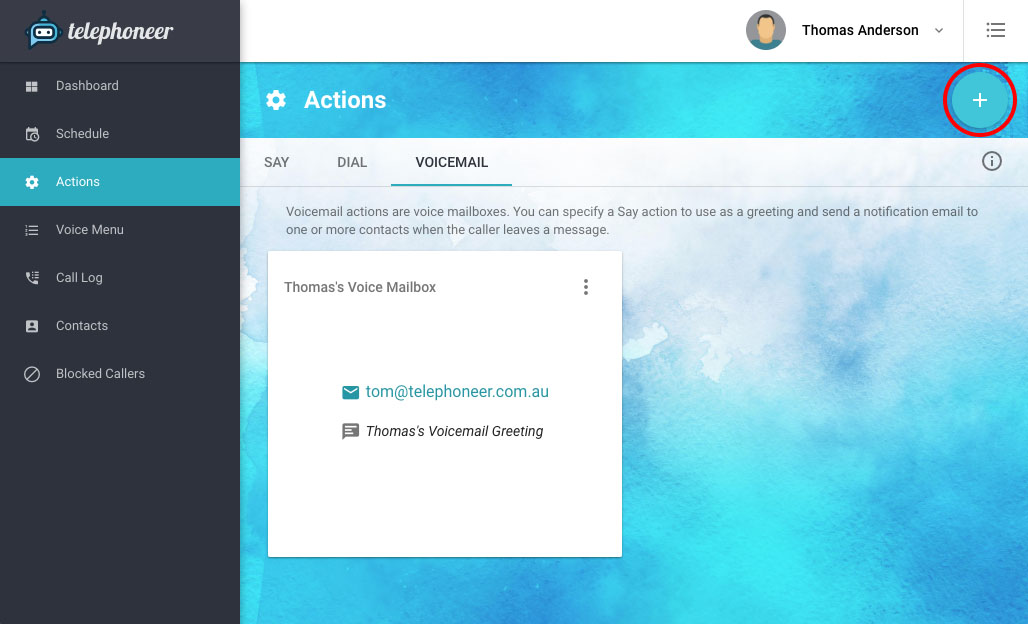
Click the Add + button (circled above) in the top right corner to show the New Voicemail Action dialogue.
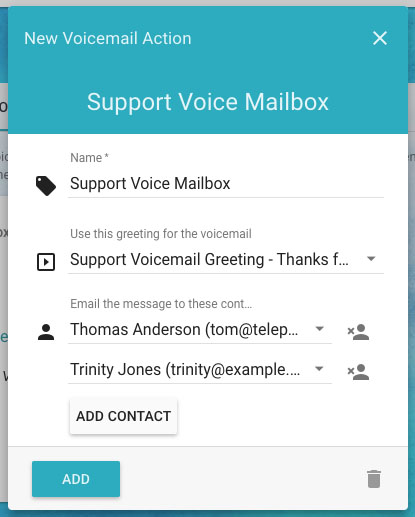
First, enter a name for the voice mailbox. I recommend adding “Voice Mailbox” to the end so it’s easy recognise later on.
Next, choose a greeting from the drop down list. If you don’t want a greeting you can choose “Nothing”. In this case the caller will just hear a beep when recording starts.
Finally, add the contacts you want to notify when a message is left for this mailbox. Just select the contact from the dropdown list. You must have at least one contact and you can add up to three additional contacts. To add another contact click the ADD CONTACT button and choose the contact from the new dropdown list.
Click ADD and you’re done! Your new voice mailbox will be saved and ready to go.