A voice menu (sometimes called an “automated attendant“) allows your callers to self-direct their call by selecting options from their phone keypad. Setting up a telephoneer voice menu is straight forward but you’ll want to give some thought to its structure, particularly the options you’re going to offer your callers.
A telephoneer voice menu has three main components you’ll want to create in advance.
Greeting
This is an optional Say Action that is played when the call first connects. It usually welcomes the caller, gives the business name and so on.
Menu Announcement
This is second Say Action that is played after the Greeting and whenever the user selects an invalid option. It lists the available options for the user e.g. Please press 1 for sales etc.
Voice Menu Options
The menu options specify what happens when the user presses a number on their keypad. They’re simply an option number (0 – 9) and an associated Dial or Voicemail action.
Plan out your voice menu and create up the actions you’ll need to implement it. This post covers creating greetings and messages (Say Actions), while this post covers creating dial groups (Dial Actions) and this post goes over creating voice mailboxes (Voicemail Actions).
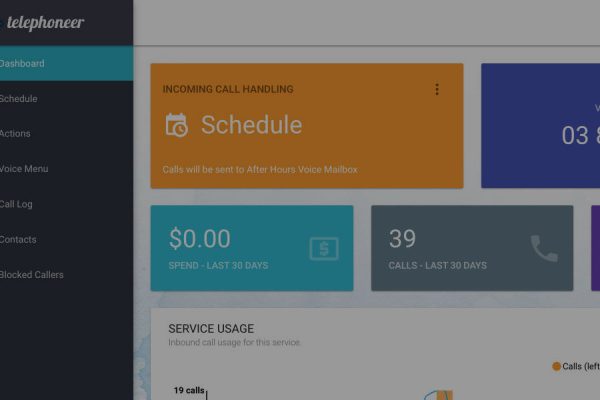
Once you have all the pieces, it’s time to assemble them! Log in to the telephoneer web app and navigate to the Voice Menu page.

Click the toggle switch (circled above) to enable the Voice Menu.

Greeting
Select a greeting from the drop-down list, or No greeting if you don’t want one.
Menu Announcement
Select your menu announcement from the drop-down list.
Voice Menu Options
You can have up to five menu options. To set an option choose an option number from the drop-down list (0 – 9). Next use the drop-down lists to choose a Dial, Say, or Voicemail action that will be executed when the user selects this option.
Click the ADD OPTION button to create additional menu options.
The menu options do not have to be in any particular order, nor do they have to be in sequence (1,2,3).
Default Option
The default option is selected if the user doesn’t make a choice at all. If you don’t want a default option select Hang up and the call will be disconnected if no selection is made
Finally, click the SAVE button to save your changes and you’re done! Your voice menu is ready to be used as your main call handler or in the Schedule.