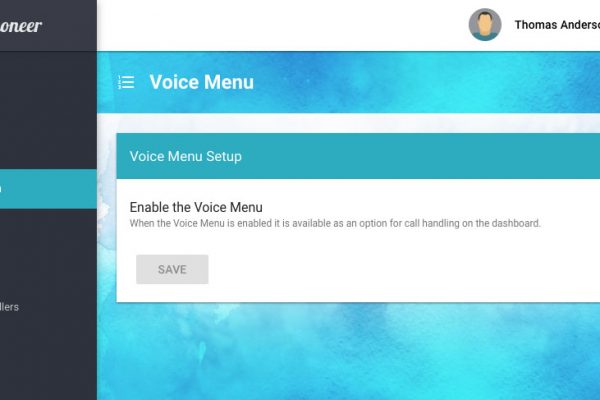
Telephoneer supports the use of audio files for Say Actions, which are combined with other actions to create voicemail boxes, messages and voice menus. You can use any .MP3 or .WAV format audio file as long as it is smaller than 200 kilobytes. Because the file will be played over a phone line, mono (single channel) audio recordings are preferred to stereo (dual channel) as they are smaller and the phone line is mono anyway.
Phone lines are limited in bandwidth and optimised for voice frequencies so your voicemail recordings don’t need to be made in hi-fidelity mode, it will just bloat the file size and the extra quality will be wasted anyway.
We recommend the following recording settings as a starting point for your audio messages:
WAV
Record mono audio at a sample rate of 8,000Hz (8kHz) and 16 bits per sample (bit depth).
WAV audio is typically uncompressed which makes the files larger than MP3 for a recording of the same length.
MP3
Record mono audio at a sample rate of 16,000Hz (16kHz) and encode at a bit rate of 16~22kbps. The higher sample rate is to help minimise compression artefacts.
Results can vary depending on a wide range of factors from source quality to compression settings, so take this as a starting point rather than a hard and fast rule.
3 Ways to Record an Audio File
1. Leave yourself a voicemail
If you don’t have anything else to hand you can call your telephoneer virtual landline and leave yourself a voicemail. When you receive the email notification, click the link to play the message and you’ll see a little media player in your browser that looks like this
Click the more menu button at the end of the player and you’ll get the option to download the file. It will be a .WAV file that you can use to create a Say Action in telephoneer. See this post for more information on using it as a voicemail greeting.
2. Use a Phone App
There are a bunch of apps for recording audio on your iPhone or Android, many of them are free to download. The main thing you’re looking for in a recording app is the ability to tweak the recording settings to get both the file format and size we need.
A great app for the iPhone is Voice Record Pro by BejBej Apps. It’s a powerful recording app with a retro analogue feel. VRP is available in a free (ad-supported) version and outputs .MP3 and .WAV files with a myriad of ways to get the recording off your phone and onto a computer for easy upload (though it can be done straight from the phone if you prefer). It also allows trimming audio clips to remove silence from the beginning or end of the clip.
Voice Record Pro
If you’re using Voice Record Pro, open the app and tap the red REC button at the bottom of the screen. Tap the Advanced tab at the top of the screen to access the recording settings
I got decent results with the following settings:
Record format: MP3
Sample Rate: 16,000
Bit Rate: 16 kbps
Bit Depth: 32bit
Channels: mono
Encode Quality: high
Record Engine: advanced (scroll down to see this option)
Once your settings are locked in, press the red REC button again to commence recording and press the blue STOP button when you’re finished. You be taken to the screen shown here.
You can tap “Play” in the list, or the blue Play button to playback the recording. If you find you have too much silence at the start or finish of the recording scroll down the list to the “Trim & Effects” option and tap it.
Use the grab handles on the top slider to adjust the start and end point of the clip to remove the silences. Tapping the blue Play button at the bottom of the screen will play back the trimmed clip. Once you’re satisfied with the clip, tap the blue Tick button at the bottom of the screen to save. You’ll be returned to the playback screen.
From there you can choose one of the many ways listed to get the clip onto a computer or cloud storage. If you’re planning to use the phone to upload to telephoneer, saving the clip to iCloud Drive is probably the easiest option.
PRO-TIP: Record with your mouth as close to microphone as practicable; you’ll get much better sounding results — so hold the phone rather than using speaker mode when recording your message.
3. Use a Computer App
My go-to audio editing app for the computer is Audacity. It’s free, open-source software and is available for Windows, macOS and linux, so its got everyone covered. Audacity lets you record and edit audio files directly on your computer, all you need is a decent microphone.
I won’t go into how to use Audacity as that’s another post in itself and there are plenty of resources available on the web just a Google search away.
4. Get Somebody Else to Record it for You.
At the top of the article I said I’d show you three ways to record an audio greeting but there’s always the option of getting someone else to do it for you. We can arrange for professional voice recordings for your greetings and messages — you supply the words and we’ll do the rest.
If that sounds like more your speed, get in touch and tell us what you need and we can give you a quote.


